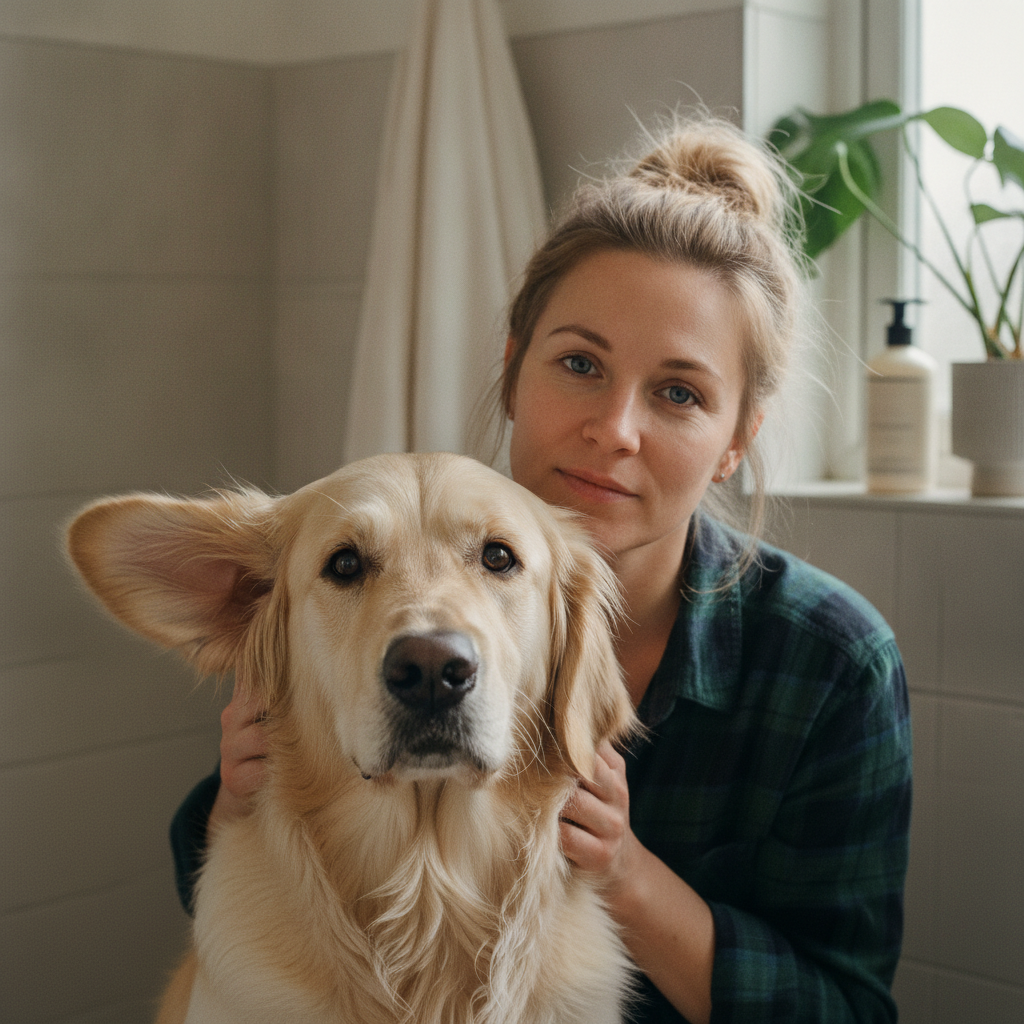
There is a reason every vet tells the same Q-tip horror stories: the instinct that makes ear cleaning feel productive, digging into the canal until the cotton comes out dirty, is exactly the instinct that causes harm. A dog’s ear canal is shaped like an L, and jamming a swab down it packs wax against the eardrum and scrapes delicate skin that then gets infected. So before we talk about how to clean your dog’s ears, the single most useful thing to learn is when to leave them alone.
That is the through-line of this whole guide. A healthy dog ear is a self-cleaning system, and your job is mostly to watch it, support it when it needs help, and know the moment it has become a medical problem you should not be poking at.
Start by looking, not cleaning
Most dogs with normal ears never need routine cleaning. Nature handles it. So the first step is never the wash, it is the inspection. Get to know what your dog’s healthy ears look and smell like when everything is fine: the skin inside should be pale pink, cool, and close to odorless, with at most a little pale wax.
Lift the flap and check the inner surface every week or two. You are looking for changes from that baseline: redness, swelling, scabs, crusting, a yeasty or sour smell, or discharge that is dark, thick, or bloody. Wax that is pale yellow to light brown is normal. Wax that has turned green, black, dark red, or nearly black, especially with odor, is a signal to book a vet visit, not to reach for the cleaner.
Get the right supplies (and skip the ones in your bathroom cabinet)
If a cleaning is warranted, buy a cleaner made for dogs. This matters more than people expect, because a dog’s ear canal has a different pH than human skin, so human products are the wrong chemistry. A good canine ear wash is built to loosen dead skin cells, dissolve the waxy buildup where bacteria and yeast take hold, hold the canal at a healthy pH, and dry things out afterward.
What you need is short: a vet-recommended ear wash solution and a supply of cotton balls. What you should never use is just as important: no hydrogen peroxide, no rubbing alcohol, no vinegar, and no human ear drops. Those sting inflamed skin and can make a mild problem worse. Cotton swabs are optional at best, and only ever for wiping the folds you can see, never for entering the canal.
The actual cleaning, step by step
Most dogs are not thrilled about this, so success starts with a calm dog, not a fast technique. Practice touching and lifting the ears on ordinary days, paired with treats, so the real cleaning is not the first time your dog has had their ears handled.
When you are ready, settle your dog comfortably, ideally lying on their chest, and kneel on the side across from whichever ear you plan to clean. Gently massage the neck and ears for a moment to relax them. Lift and fold the flap upward and back so the canal opening is exposed, then hold the bottle in your free hand and squeeze in the amount of cleaner the label recommends. Try not to let the bottle tip touch the ear, which keeps it sanitary.
Now the part that does the work: massage the base of the ear for several seconds. You will often hear a soft squishing sound, which means the solution is moving through the canal and loosening debris. Then step back and let your dog do the rest. They will shake their head, which is not only fine but helpful, because it brings loosened gunk up to where you can reach it. Finish by wiping the discharge from the visible folds of the ear with a cotton ball. If you use a cotton swab at all, use it only on the ridges you can clearly see, and never push it deeper than that.
How often is “enough”
Here is where a lot of well-meaning owners go wrong in the other direction. More cleaning is not better. Routine cleaning of a healthy, problem-free ear can irritate the lining and disrupt the canal’s natural balance, which is its own path to infection. Clean on a schedule only if your dog is genuinely prone to buildup or infections, and let the schedule be set by your vet and by what you actually see when you inspect.
Some dogs do need regular help. Breeds and individuals with heavy, floppy ears, dogs who swim or spend a lot of time in water, and dogs with allergies tend to trap more moisture and debris, and moisture is what yeast and bacteria love. Airflow matters too: a lot of hair growing at the canal opening reduces ventilation, so ask your vet whether light trimming around the opening makes sense for your dog rather than doing it blind.
When to stop and call the vet
This is the section to take most seriously, because at-home cleaning is only appropriate for a healthy ear. If the ear is already inflamed or infected, cleaning it yourself can drive the problem deeper, and some infections come with a ruptured eardrum, which means anything you pour in can reach places it should never go.
Leave the cleaning to a professional and get a same-week appointment if you notice constant head shaking, pawing or scratching at the ear, a strong odor, pain on contact, or any redness, rash, scabbing, crust, moisture, or discharge in the canal, or any sign your dog is off. A few specific situations always belong at the clinic rather than your kitchen: a dog who will not hold still for a thorough cleaning of heavy buildup, a suspected foreign body such as a foxtail lodged in the canal, or any time samples are needed to identify what is actually growing in there. When infection is on the table, the right move is a vet-guided plan, often including a proper deep cleaning and, if prescribed, ear medication, which works far better going into an already-clean ear.
“The mistake I see most is a loving owner cleaning too much, too deep, and treating a self-cleaning organ like it’s dirty,” says Dr. Ravi Mehta. “If the ear looks pink and smells like nothing, the kindest thing you can do is close the flap and walk away. Save your effort for the ear that actually needs it, and let us handle the one that smells off.”
What newer research adds
The current thinking in veterinary dermatology has leaned even harder into the idea that recurring ear problems are usually a symptom, not the whole disease. Chronic or repeat ear infections in dogs are very often driven by underlying allergies, so if you find yourself cleaning and treating the same ear over and over, the productive question is what is inflaming the skin in the first place, not which wash to buy. Owners who chase the root cause with their vet tend to get off the cleaning-and-infection treadmill that endless home washing never solves.
There is also more attention now on not over-disinfecting a healthy canal, since the ear has its own normal microbial balance and stripping it too aggressively can backfire. The takeaway is reassuring: for most dogs, less intervention, closer observation, and an early call to the vet when something looks wrong beats a rigorous weekly scrub.